Easy Rangoli Designs for Kids: Step-by-Step Patterns and Colour Tips
Six easy rangoli designs children can draw at home, from a dot-grid flower to Lakshmi’s footprints, with simple tools, colour ideas and the regional traditions behind rangoli.
Rangoli is one of the most joyful Indian art forms, and one of the easiest for children to begin. A few handfuls of colour, a patch of floor at the doorstep, and in half an hour a child can make something beautiful that welcomes every guest who walks in. At Diwali especially, rangoli is drawn outside homes across India to welcome the goddess Lakshmi.
Here are six easy rangoli designs for kids, explained step by step, with tips on tools and colours.
One art, many names
Rangoli is drawn all over India, with different names and styles. In Tamil Nadu it is kolam, traditionally drawn every morning with rice flour, often around a grid of dots. In Andhra Pradesh and Telangana it is muggulu. In West Bengal it is alpana, painted with a paste of rice. In Rajasthan, mandana is drawn on walls and floors. In parts of Uttar Pradesh it is chowk purana. Each region has its own patterns, and a child who learns a few designs is joining a tradition that is very old and very much alive.
What you need
Rangoli colours or coloured rice flour, plain white rice flour or chalk for outlines, and a clean, dry, flat surface. Helpful tools from the kitchen include a small spoon, a tea strainer for sprinkling colour evenly, a bangle or a bowl for drawing perfect circles, and a cone made from rolled paper with a small hole at the tip for drawing fine lines. For children, flower petals, coloured rice, lentils and small diyas are lovely, easy materials too.
If you are drawing indoors or on a balcony, a large sheet of black chart paper makes a reusable base, and the colours show up beautifully on it.
The basic technique
Take a pinch of colour between the thumb and forefinger. Rub the fingers gently together as you move your hand, letting a thin line of colour fall onto the floor. Practise lines and circles first. Do the outline in white, then fill in the spaces with colour, working from the centre outwards so that your hand never smudges what you have already done.
Design 1: the dot-grid flower
This is the classic beginner kolam. Make a square grid of dots, five rows of five. Around the centre dot, draw four petals, each one curving from the centre out around one of the dots nearest to it. Then draw four larger petals between them, curving around the next ring of dots. Join the outer dots with a gentle wavy border. Fill the petals with two alternating colours. Children enjoy discovering how the dots guide the shape.
Design 2: the bangle circle
Place a bangle on the floor and trace around it with white. Move the bangle so that it overlaps the first circle by about half, and trace again. Repeat all the way around until you have a ring of overlapping circles, like a flower. Fill each segment with a different colour. This is perfect for younger children, because the bangle does the hard work and the result always looks impressive.
Design 3: the diya
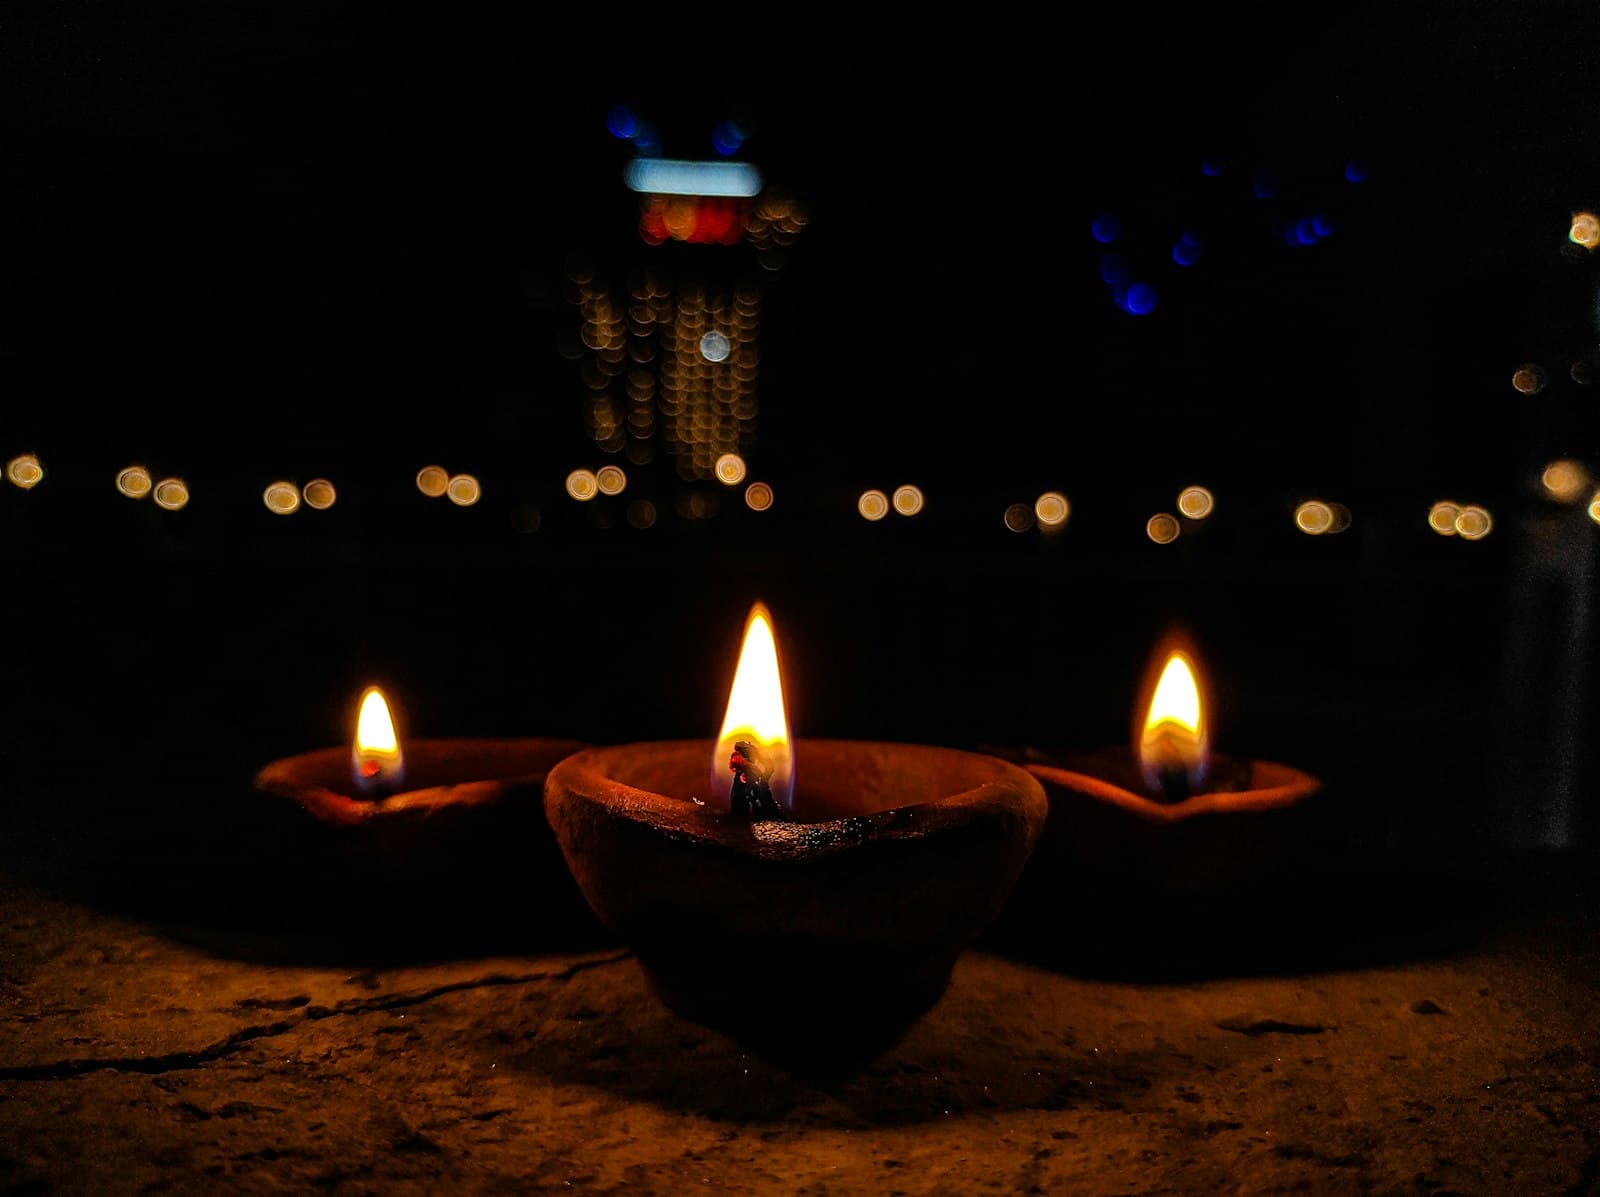
Draw a wide, shallow U shape for the diya, with a flat line across the top. Add a small teardrop flame rising from one end. Fill the diya in brown or orange, the flame in yellow with a red tip, and draw a ring of dots or small petals around the whole design. Place a real lit diya beside it once it is finished, with an adult’s help.
Design 4: the lotus
Draw a small circle for the centre. Around it, draw one petal pointing straight up, then two on either side angled out, and two more lower down, so that the petals fan out like an open lotus. Add two long leaves at the bottom. Fill the petals in pink with a white edge, and the leaves in green. The lotus is closely associated with Lakshmi, which makes it a lovely choice for Diwali.
Design 5: Lakshmi’s footprints
In many homes, small footprints are drawn leading from the doorstep into the house during Diwali, to welcome Lakshmi in. In Maharashtra they are called pāvale or paglya. Draw a small foot shape with five round toes, using white or red. Repeat in pairs, a step apart, leading from the door into the house. This is a design children love, and they can trace around a template they cut from card.
Design 6: the petal mandala
For older children who want a challenge. Draw three circles inside one another using bowls of different sizes. In the inner ring, draw eight petals. In the middle ring, eight larger petals placed between the first ones. In the outer ring, a border of small triangles, dots or waves. Fill each ring with a different colour, keeping the pattern symmetrical. Fresh marigold and rose petals make a beautiful version of this design.
A rangoli does not last. It is swept away, walked over, blown by the wind. Children learn something from that too: that beautiful things can be made for the joy of making them.
Colour tips
Use contrast. Put light colours next to dark ones, such as yellow beside purple or white beside red, so that the design stands out. Limit the palette for beginners to three or four colours; too many can look muddy. Always outline in white first, then fill. And for a flower-petal rangoli, add the petals last and spray them lightly with water to keep them fresh longer.
Making it eco-friendly and safe
Choose natural colours where you can: rice flour, turmeric, kumkum, flower petals, coloured rice and leaves. Some brightly coloured synthetic rangoli powders can irritate skin, so let small children wash their hands after playing, and keep powders away from eyes and mouths. If you place lit diyas around the rangoli, keep them well away from clothes and supervise children closely.
Beyond Diwali
Rangoli is a wonderful way into Indian design and symmetry, and the same patterns turn up in textiles, temple architecture and folk painting. Our live arts and painting classes include rangoli and Indian folk art among many other traditions. If you would like your child to learn with a mentor, enquire about our classes through the Book a Class page.
Learn this with a mentor
Bring this to life for your child with our live, mentor-led Storytelling and Confidence Building.